

As a seasoned conveyor idler supplier, I understand the importance of a well - installed conveyor idler system for the smooth operation of any conveyor belt. In this blog, I'll guide you through the process of installing conveyor idlers, ensuring that you can optimize the performance of your conveyor system.
Pre - installation Preparation
Before you start the installation, it's crucial to carry out a series of preparatory steps. First, carefully inspect all the conveyor idlers you've received from us. Check for any visible damage, such as dents, scratches, or misaligned bearings. This is important because a damaged idler can lead to premature wear of the conveyor belt and other components.
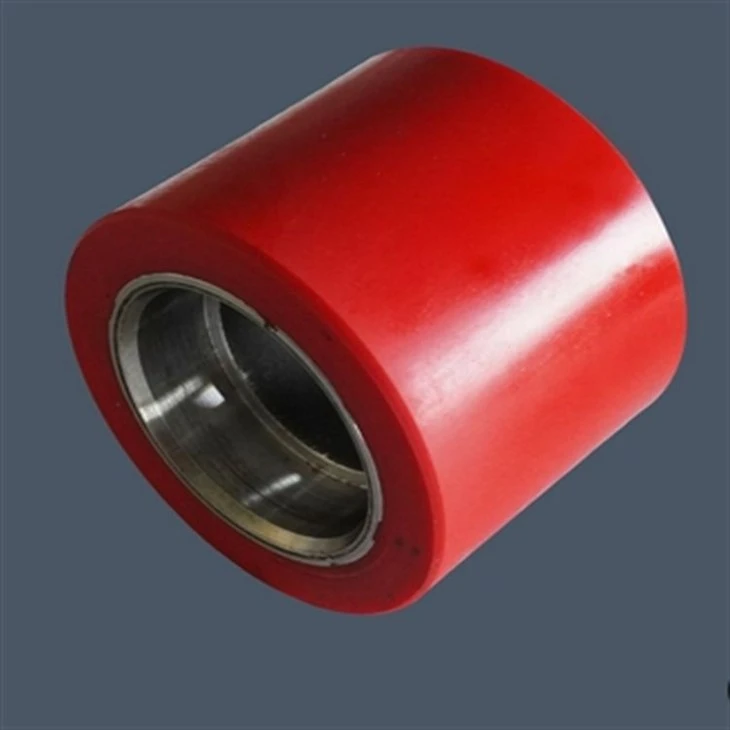

Measure the conveyor frame to ensure that it meets the specifications required for the idlers. The frame should be straight and level, with the correct spacing for the idlers. Any deviation from the recommended dimensions can cause the idlers to function inefficiently.
Gather all the necessary tools for the installation. You'll typically need a wrench, a socket set, a measuring tape, and a level. Having these tools ready will make the installation process much smoother and quicker.
Selecting the Right Idlers
The type of conveyor idlers you choose depends on the specific requirements of your conveyor system. For example, if you need to support the return side of the conveyor belt, you might consider Flat Return Idler. These idlers are designed to provide a flat surface for the return belt, reducing friction and ensuring a stable return path.
If you're facing issues with belt tracking on the return side, Return Training Idler can be a great solution. They are specifically engineered to correct the alignment of the belt, preventing it from drifting off - track.
For general return belt support, Conveyor Return Idler is a popular choice. These idlers are durable and can handle the weight and movement of the return belt effectively.
Installation Process
Step 1: Marking the Installation Points
Use a measuring tape to mark the exact locations where the idlers will be installed on the conveyor frame. Make sure the marks are evenly spaced according to the design specifications. This will ensure that the idlers support the conveyor belt uniformly, reducing stress on the belt and improving its lifespan.
Step 2: Mounting the Idler Brackets
Attach the idler brackets to the conveyor frame at the marked points. Use the appropriate bolts and nuts, and tighten them securely using a wrench or socket set. Ensure that the brackets are level and properly aligned. A misaligned bracket can cause the idler to operate at an angle, leading to uneven wear on the belt.
Step 3: Installing the Idlers
Carefully place the idlers into the brackets. Some idlers may have a snap - on or locking mechanism, while others may require additional fasteners. Make sure the idlers are firmly seated in the brackets and can rotate freely. Check the rotation of each idler by hand to ensure there are no obstructions or binding issues.
Step 4: Belt Alignment
Once all the idlers are installed, it's time to align the conveyor belt. Start by adjusting the tension of the belt to the recommended level. Then, check the alignment of the belt on the idlers. The belt should run centered on the idlers without any signs of drifting to one side. If the belt is misaligned, you can use the return training idlers to correct it.
Post - installation Checks
After the installation is complete, conduct a thorough inspection of the entire conveyor idler system. Check for any loose bolts or nuts and tighten them if necessary. Make sure all the idlers are rotating smoothly and there are no abnormal noises.
Run a test operation of the conveyor belt at a low speed. Observe the performance of the idlers and the belt. Look for any signs of excessive vibration, belt slippage, or uneven wear. If you notice any issues, stop the conveyor immediately and make the necessary adjustments.
Maintenance Tips
Regular maintenance is essential to keep your conveyor idler system in top condition. Lubricate the bearings of the idlers at regular intervals as recommended by the manufacturer. This will reduce friction and extend the lifespan of the bearings.
Inspect the idlers for wear and tear on a regular basis. Replace any worn - out idlers promptly to prevent further damage to the conveyor belt and other components.
Keep the conveyor idlers clean. Remove any debris, dust, or dirt that may accumulate on the idlers, as this can affect their performance.
Why Choose Our Conveyor Idlers
As a conveyor idler supplier, we take pride in offering high - quality products. Our idlers are made from premium materials, ensuring durability and long - term performance. We have a team of experts who can provide you with technical support and guidance throughout the installation and maintenance process.
Whether you're a small - scale operation or a large industrial facility, our conveyor idlers can meet your specific needs. We offer a wide range of idler types, including flat return idlers, return training idlers, and conveyor return idlers, all designed to optimize the performance of your conveyor system.
Contact Us for Purchase and Consultation
If you're interested in purchasing our conveyor idlers or need more information about the installation process, don't hesitate to get in touch with us. Our sales team is ready to assist you with all your inquiries and help you select the right idlers for your conveyor system. We look forward to partnering with you to ensure the smooth and efficient operation of your conveyor belt.
References
- Conveyor Belt Handbook, Industry Standard Publication
- Manufacturer's Installation and Maintenance Guides for Conveyor Idlers


